Thursday, August 14, 2008

Saturday, August 9, 2008

So Serious...


CHRISTIAN BALE from The Dark Knight.

Artrage Final


Used the 'squeeze paint' tool in Artrage and then spread it around with the pallate knife to increase color, fix facial details and give real paint look. Then taken back into Photoshop to blend with 30% opacity 30%flow brush at 70% hardness.

Yay ArtRage... An under-rated tool

Artrage Sketch


Must remember to practice sketching as well as painting... (Artrage sketch) - Chalk sketch - then paints in Photoshop... Then back into ArtRage for pencils

Friday, August 8, 2008

vector style


Colored with simple vectors on hardlight layer over top.

shadow/highlight filter...


Copied final image onto new layer as multipy to make very dark and then applied shadow/highlight filter to bring out brushstrokes.... Also applied heavy unsharp mark to bring out strokes further. No Color as I plan on practicing with value more before worrying about adding color.

Sunday, August 3, 2008

overlay / multiply colors


This image was painted mainly in Photoshop using a new method I've found of painting base colors on a overlay layer and then adding simple colors on a multiply layer over the top. Then I paint at 70% opacity on a normal layer to establish my blocks of color.

Sunday, July 27, 2008

charcole stick


Used same style as street artist that painted dewi below... Used a charcole stick and 2b charcole pencil... Photoshop and Painter for colors.

Friday, July 11, 2008

Street artist draws Dewi

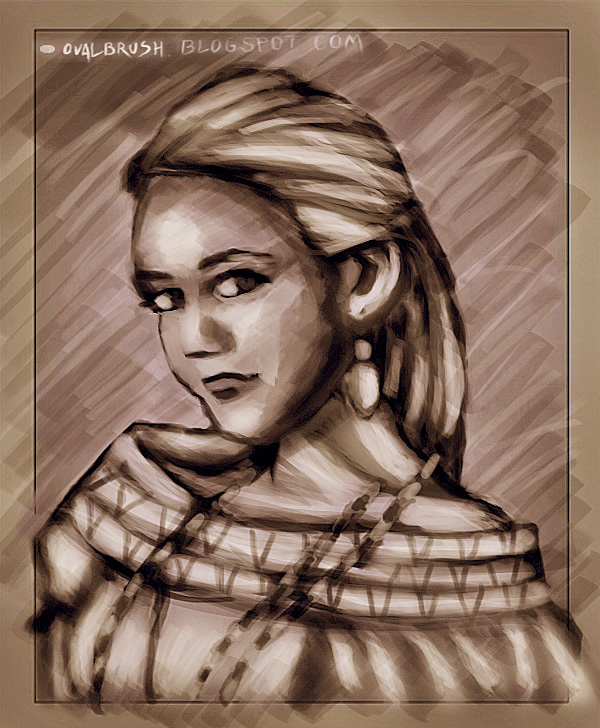
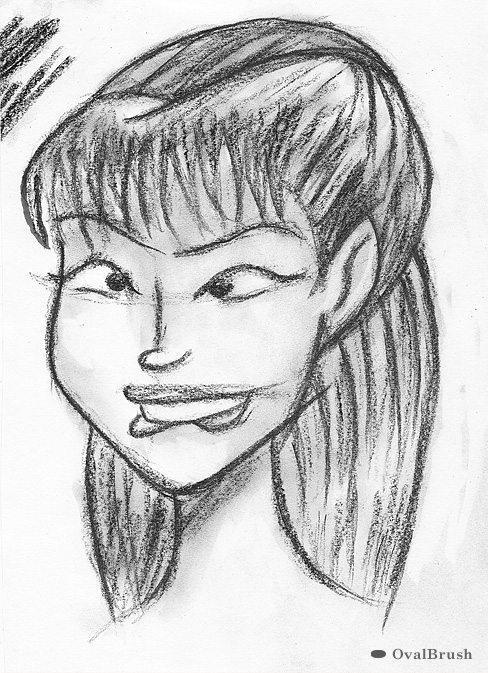
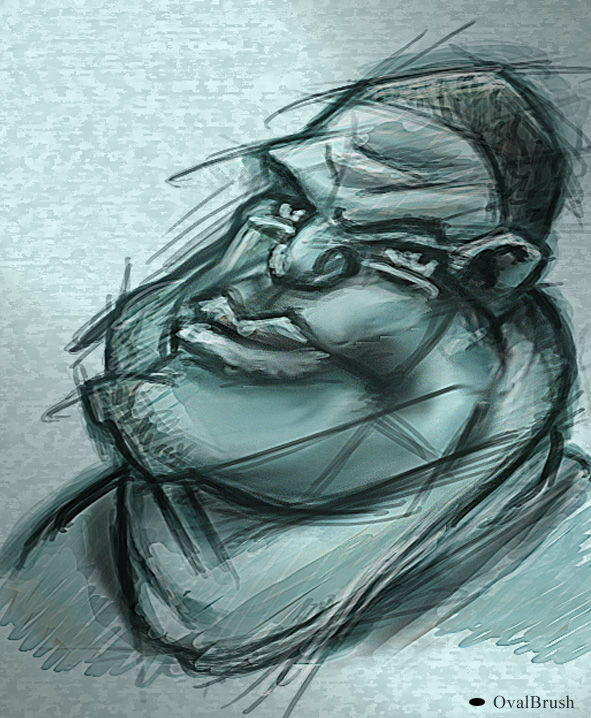
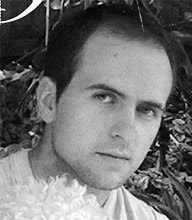
A real media charcole drawing of my gf Dewi by some talented guy named Johnny in my city.... (Oh to be able to draw like this would be grand...)

Thursday, July 10, 2008

Multiply/Screen & Painter

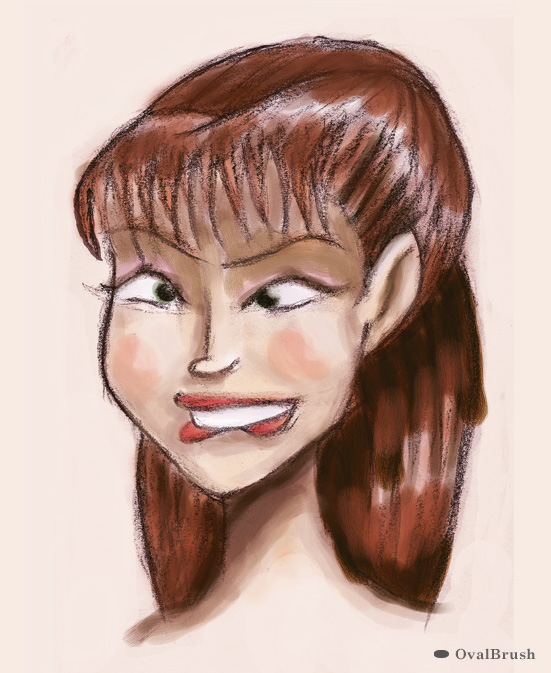
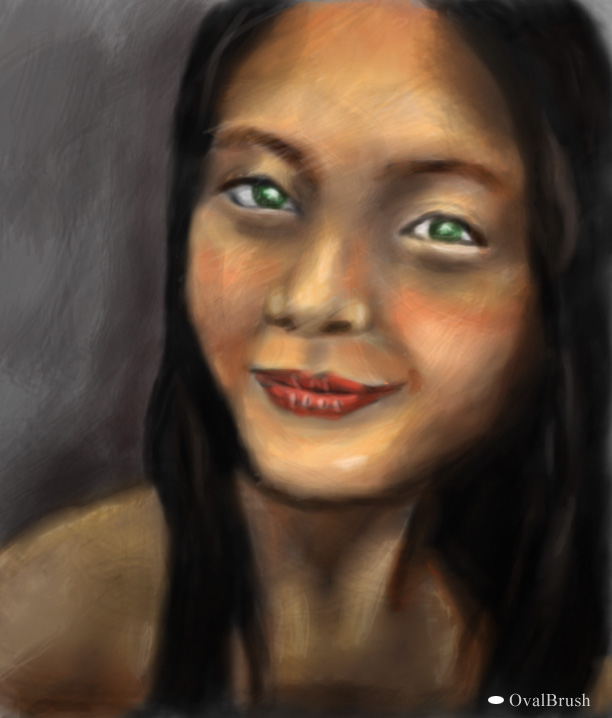
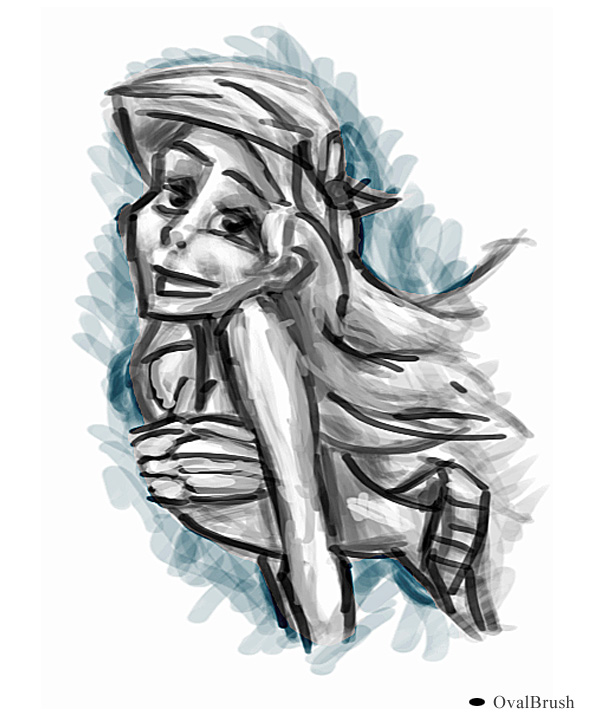
Using a couple of 'water color' multiply layers of color on 100% and a white screen layer in photoshop and smoothing with acrylic brush in Painter can improve your painting.

Just Photoshop

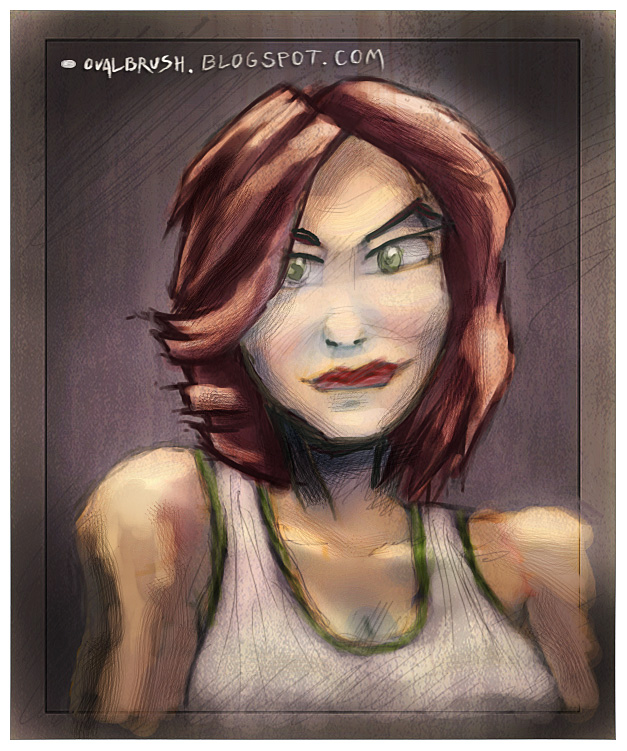
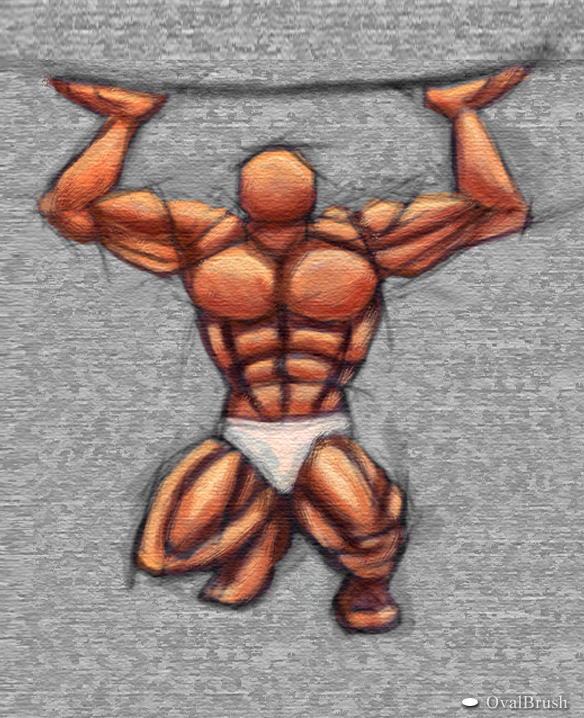
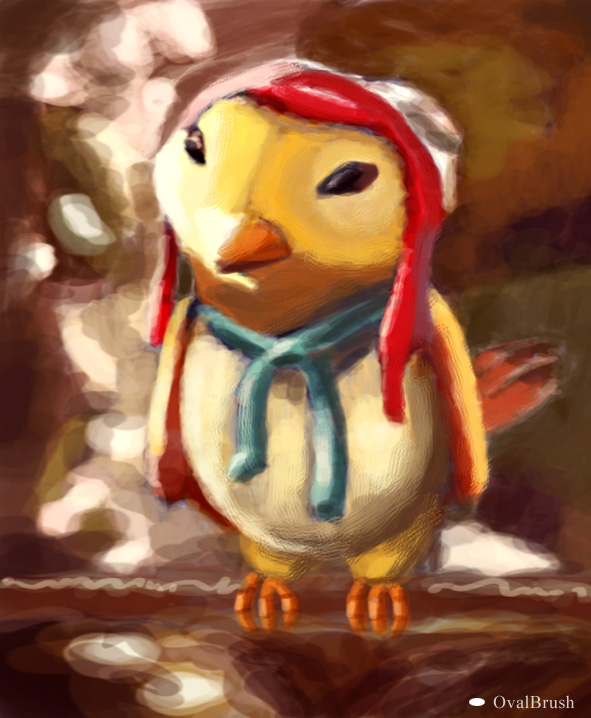
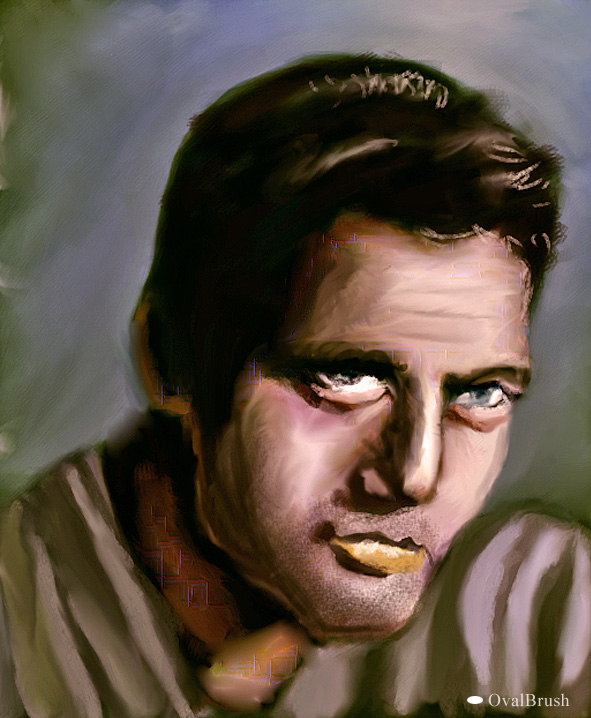
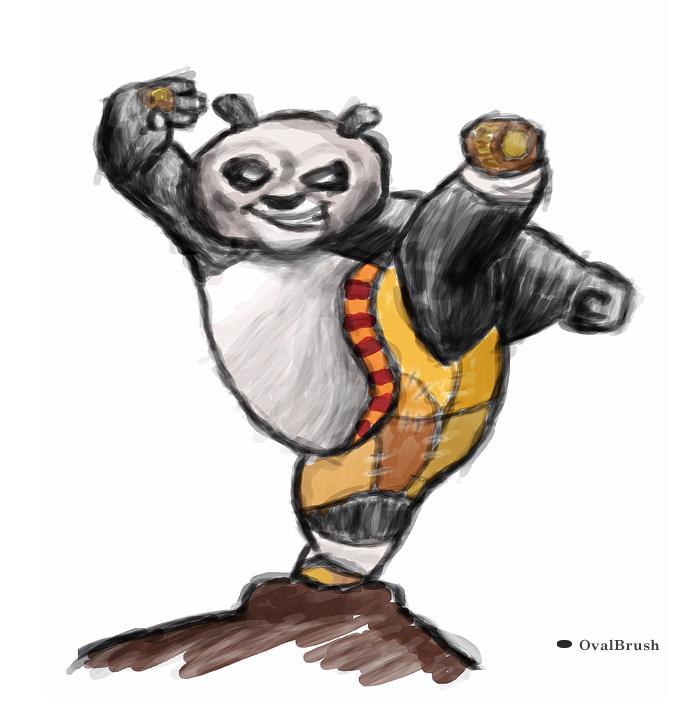
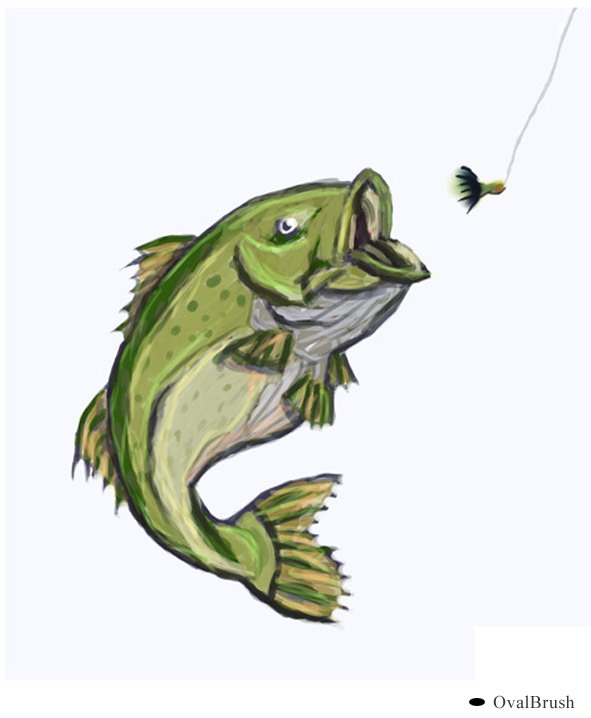
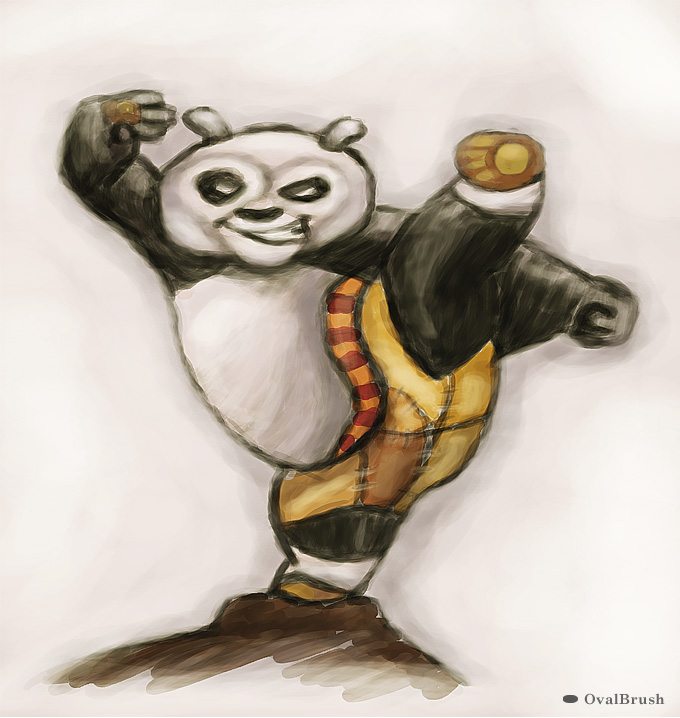
Just painted in Photoshop, painted in the same way as the 'Bass Fish' with 35% opacity and 35% flow - Gives a nice thick layer of paint.

Wednesday, July 9, 2008

Digital Painting Tute 01

Water Paints

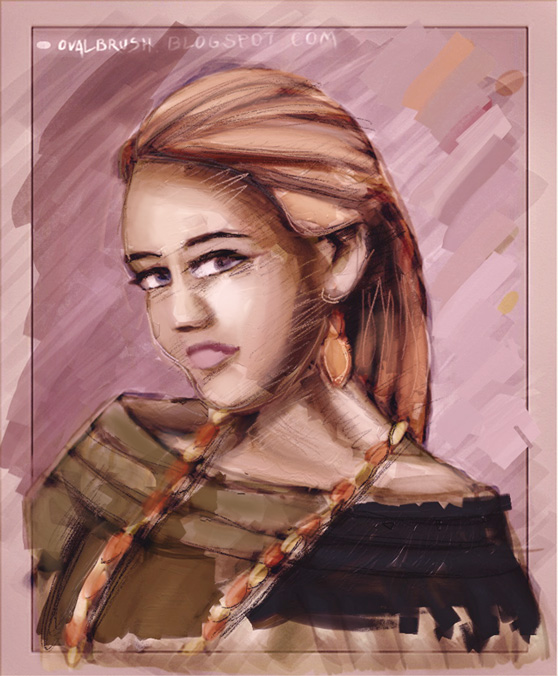
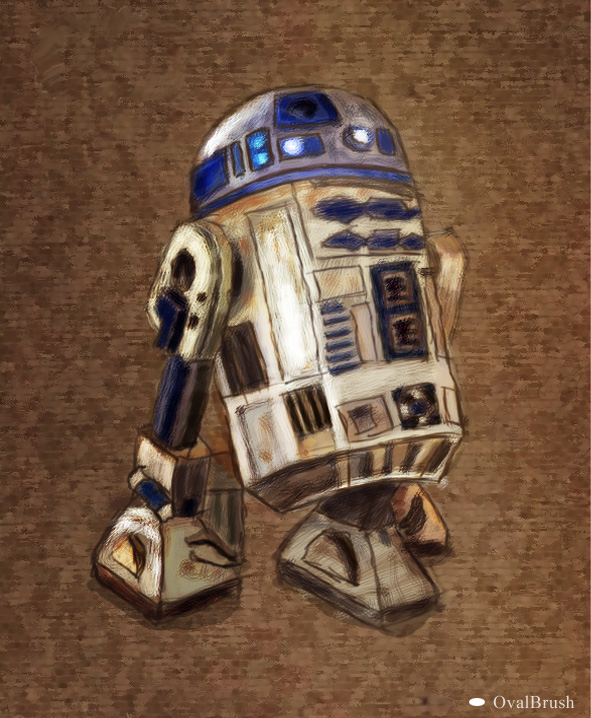
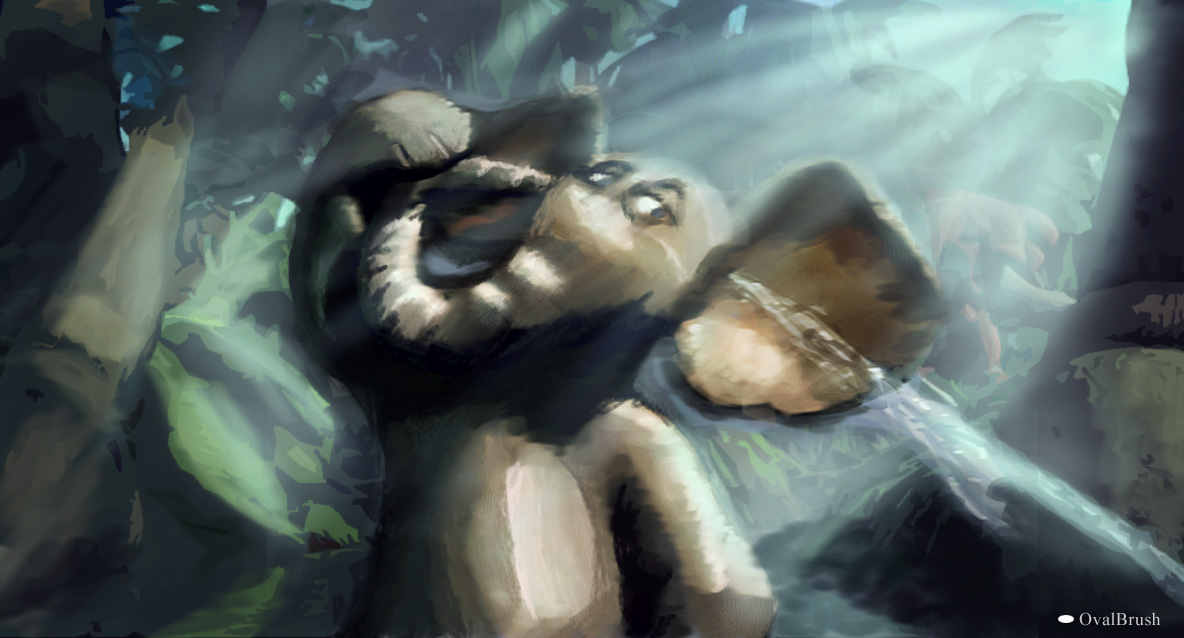
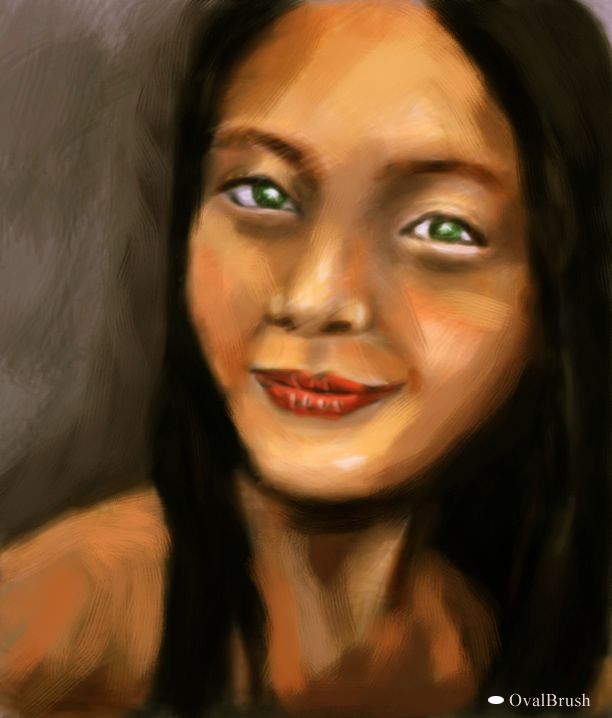
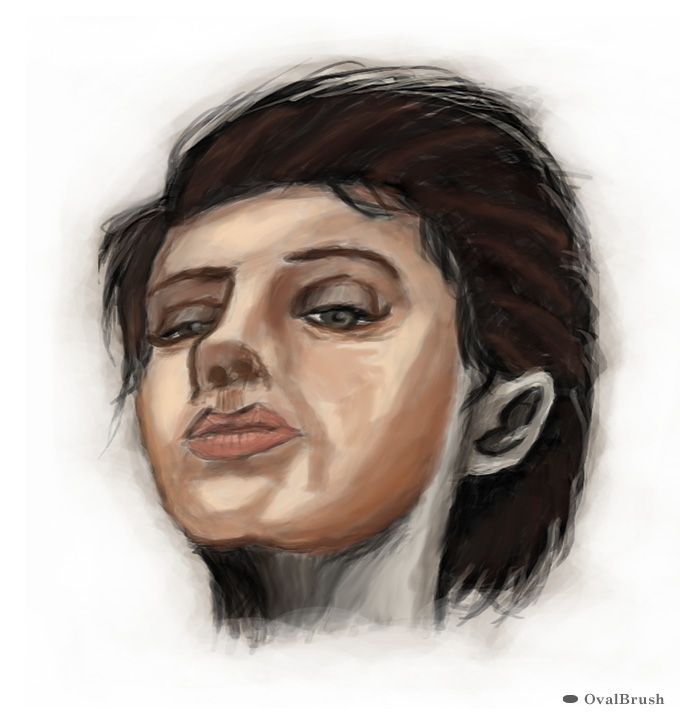
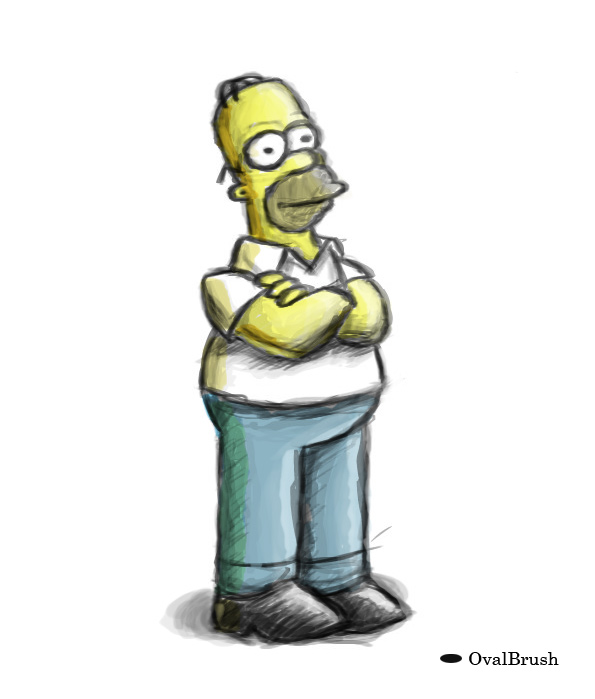
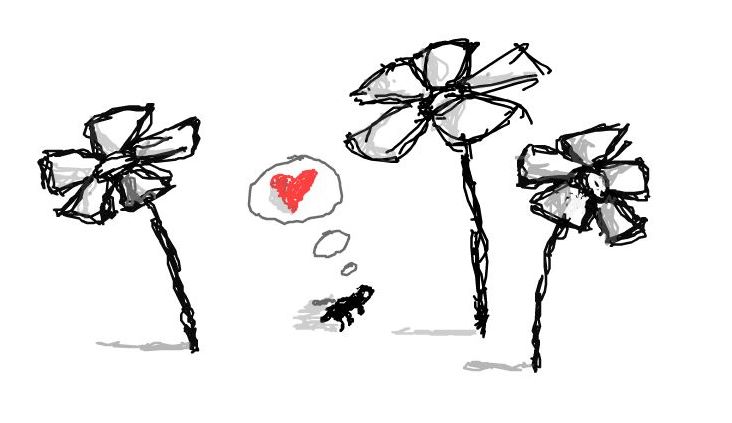
Painted all in Photoshop with around 6 'multiply layers' of paint at 100% opacity to create watercolor effect

Bass Fish


Painted all in Photoshop with slow blending of color by painting (no smudge)

Fat Thug


Photoshop Paints/Sketch only - Then smudged - taken into Painter for acrylics and then back to Photoshop for color.

Firm Chin

Monday, July 7, 2008

Ariel

Used color burn layer to add color to sketch fast

R2 Droid

Sketched lines in Flash...

Then background texture added and merged with lines in Photoshop...

Then sketched in dark brown pencil in Alias Sketchbook...

Then painted with acrylic drybrush in Painter...

Final paints done in Photoshop.

(You can find all the above programs for PC and Mac)

R2D2 robot droid.

Leia slips R2-D2 a disc containing a distress message and the plans for the Death Star battle station. Once again on the planet Tatooine, R2 and C-3PO are abducted by Jawas and bought by Owen Lars, adoptive uncle of Luke Skywalker. Luke discovers a part of the hidden message but does not act on it, and R2 escapes on his own to seek out Obi-Wan Kenobi. Soon Luke is forced to leave Tatooine with Obi-Wan, Han Solo, and Chewbacca, and they attempt to deliver R2-D2 to the Rebel Alliance. Along the way, they are captured by the Death Star, but eventually rescue Leia and escape.

Saturday, July 5, 2008

Stuart Little 2 Birdy


Painted in Photoshop with small amount of work done in Painter with acrylic dry brush.

Wednesday, July 2, 2008

ArtRage


Sketched in ArtRage... Background added in Photoshop

Sunday, June 29, 2008

Photoshop Brush Settings

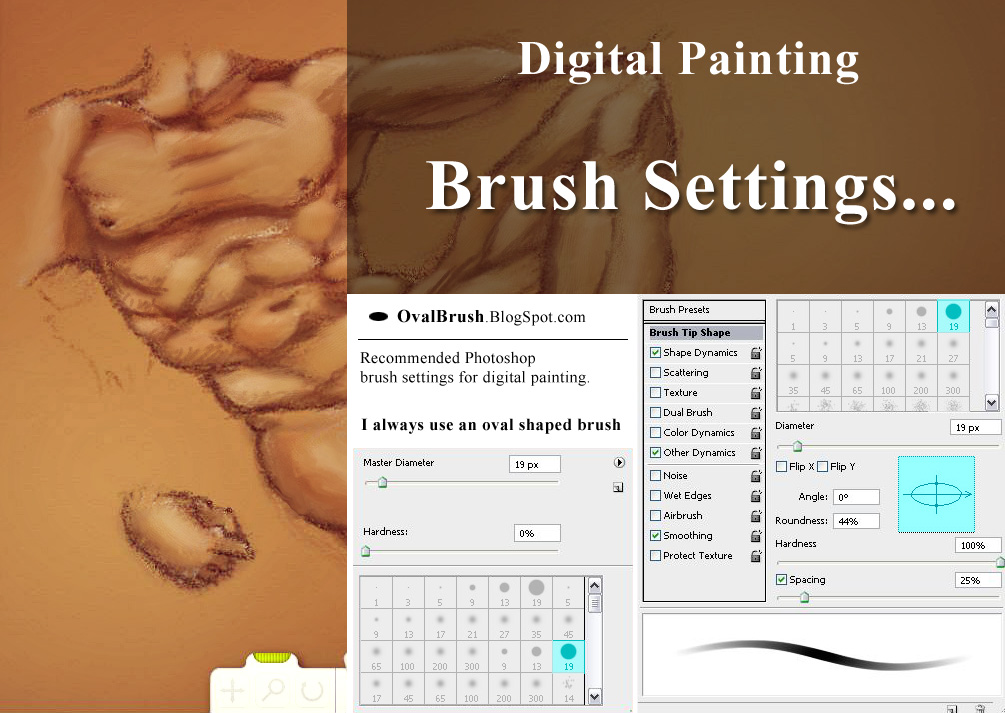
These are the brush settings I always use in Photoshop with my Wacom tablet... Yep, I use an oval shaped brush.^_^

ArtRage Drawing

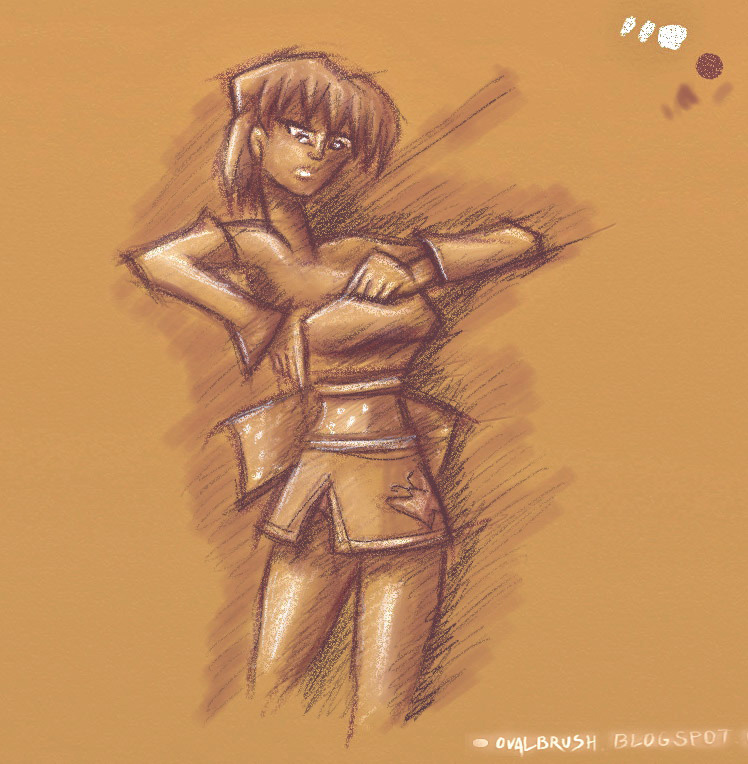
ArtRage drawing based on a sketch by my friend 'Joel Carlo' who's sketchbook was featured in 2DArtist Magazine. You can download his sketchbook from his awesome site: joelcarlo.net

As you can see the 'chalk' tool is selected and was used for this sketch. You can download the ArtRage file if you like the colors... Here:ArtRage File Download

Horton cleans his ears


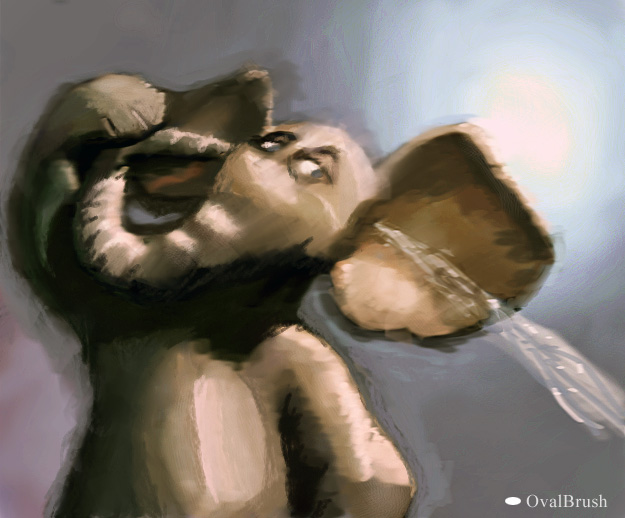
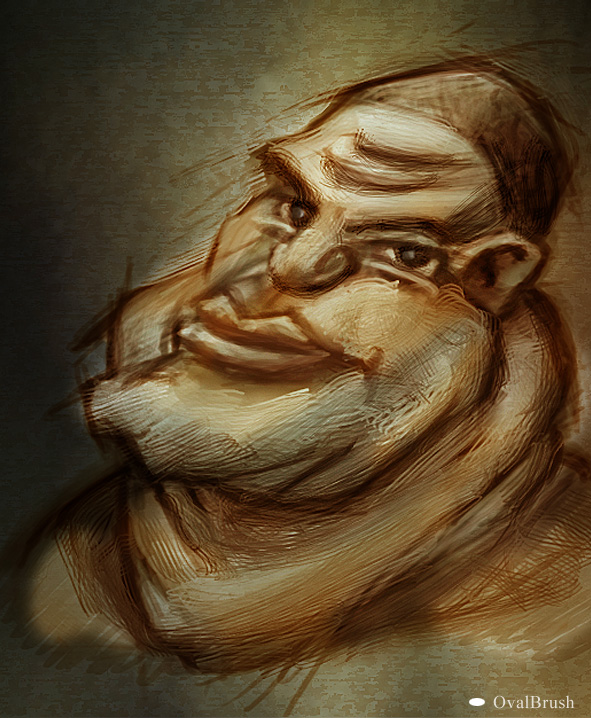
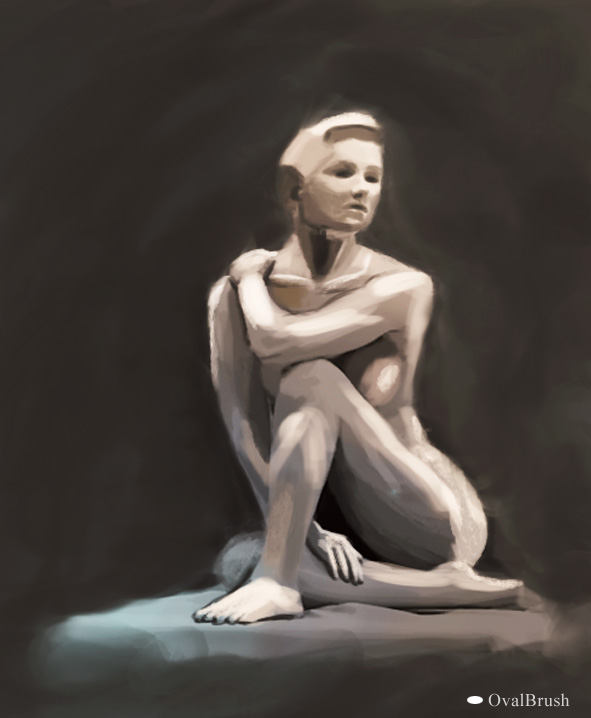
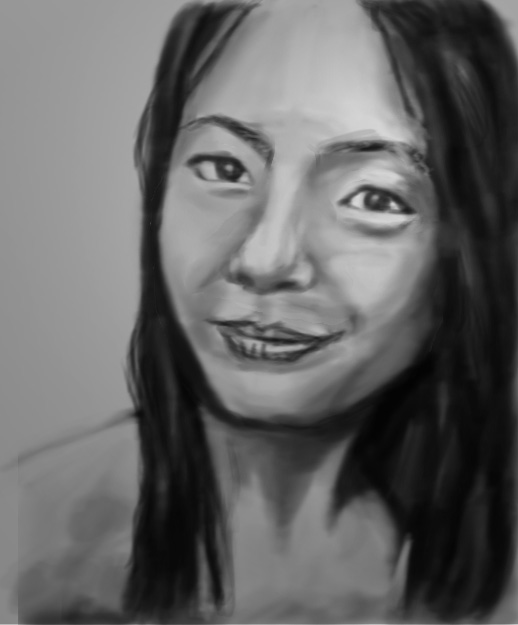
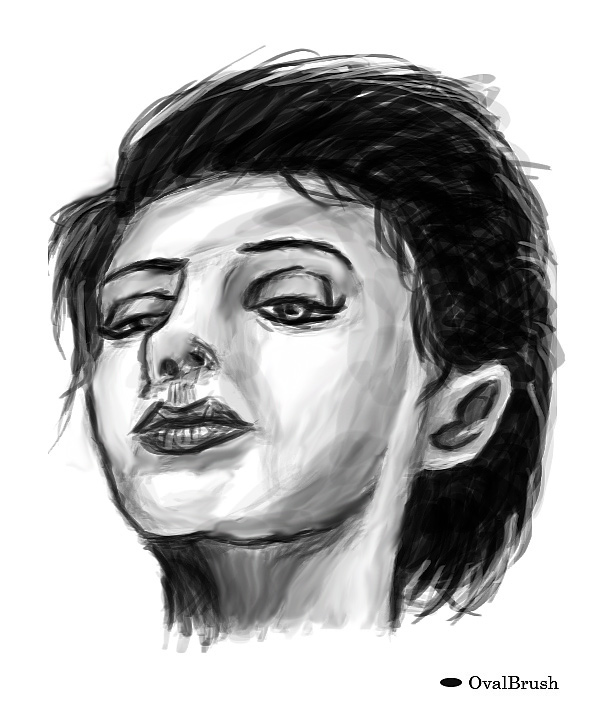
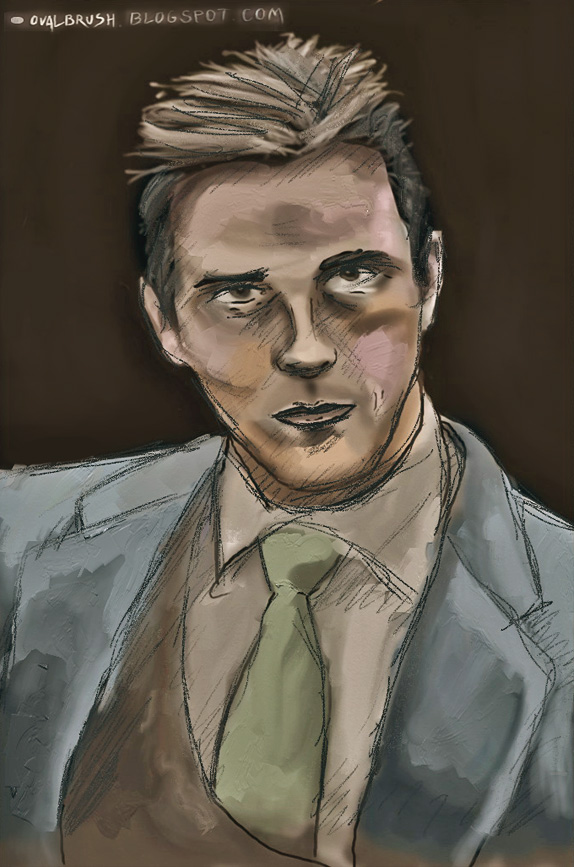
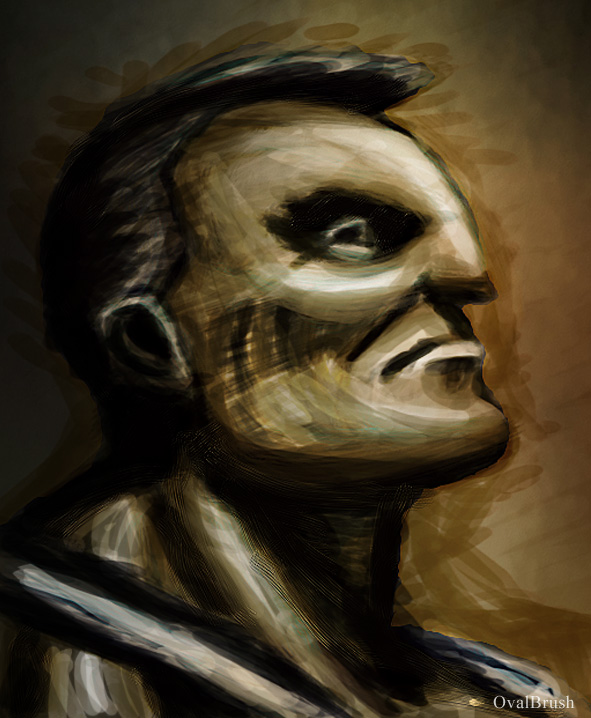
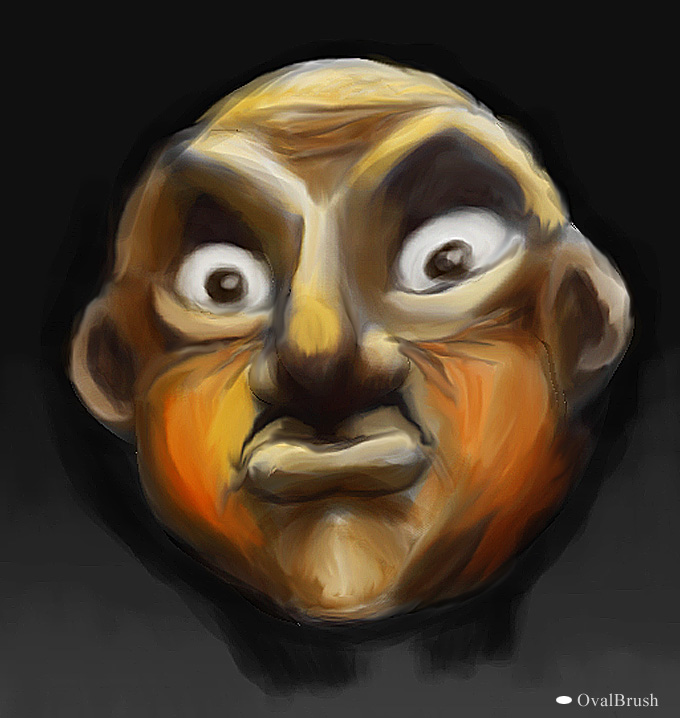
Bit of a different method this time... started with a normal brush on 0% softness on 14% opacity and then moved to 48% pretty much for the rest of the painting... Also instead of layering strokes I blocked out the image... adding darker areas and then building up to lighter values. 

Saturday, June 28, 2008

Download Sites

This summary is not available. Please click here to view the post.

RapidShare & Netfolder

If you decide to pay for a Rapidshare.com or Netfolder.in account you can find links on Google by searching for "whatyouwant hostingcode" for example "shareware http://rapidshare.com/files/" - don't include the "" 

Here are some more codes for you

http://rapidshare.com/users/

http://rapidshare.com/files/

http://netfolder.in/folder.php?folder_id=

http://netload.in/datei

One Click Downloads

Rapidshare.com is the best 1 click download site if you are happy to pay the $10 or $12 each month for multiple downloads. 

However, if you don't have a RS account you can always use Google to find and download large files (over 500mb) This means you don't have to worry about download limits... yay.

Simply search google for "whatyouwant hostingcode" for example "shareware http://adrive.com/public/" - don't include the "" 

adrive.com is new but is growing fast and allows one click multiple downloads for free.

Here are some hosting codes for you


http://sharedzilla.com/en/get?id=

Or

http://d01.megashares.com/?d01=

Or

http://adrive.com/public/

Or

http://www.eatlime.com/

Friday, June 27, 2008

statue study


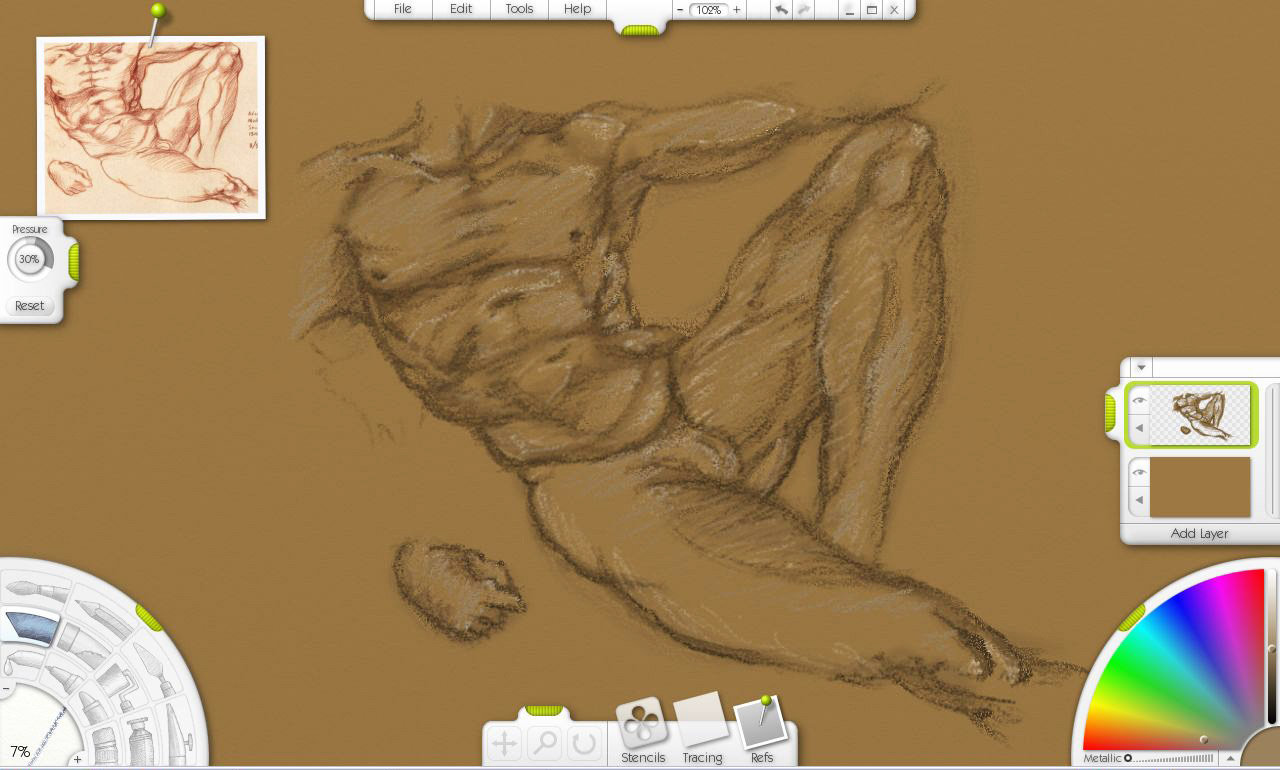
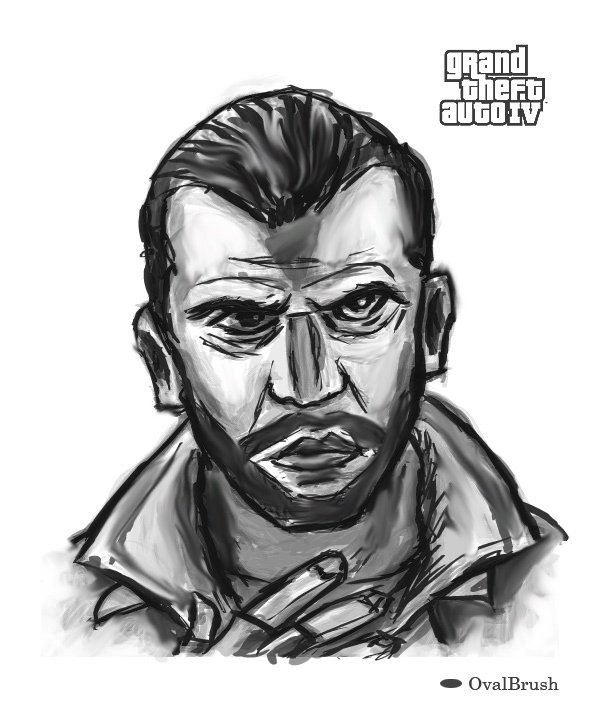
Blocked out ref with cutout filter to help conceptualise values... Cleaned up with conte crayon in Painter

50s Man


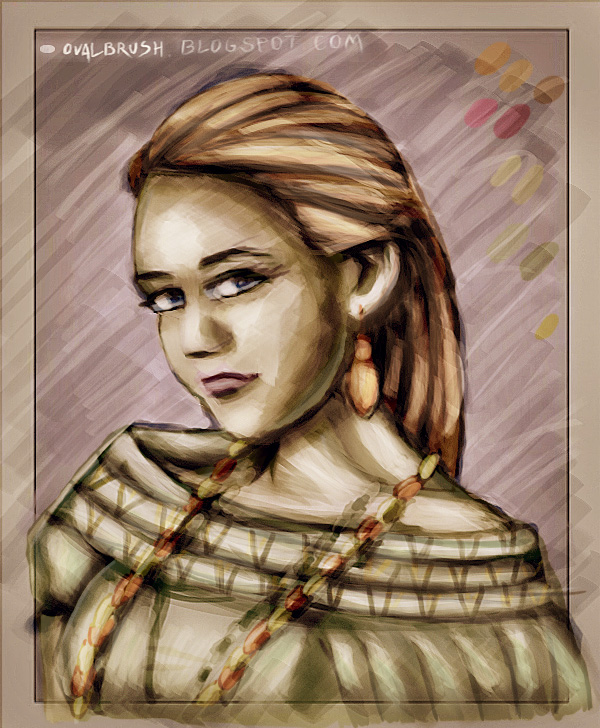
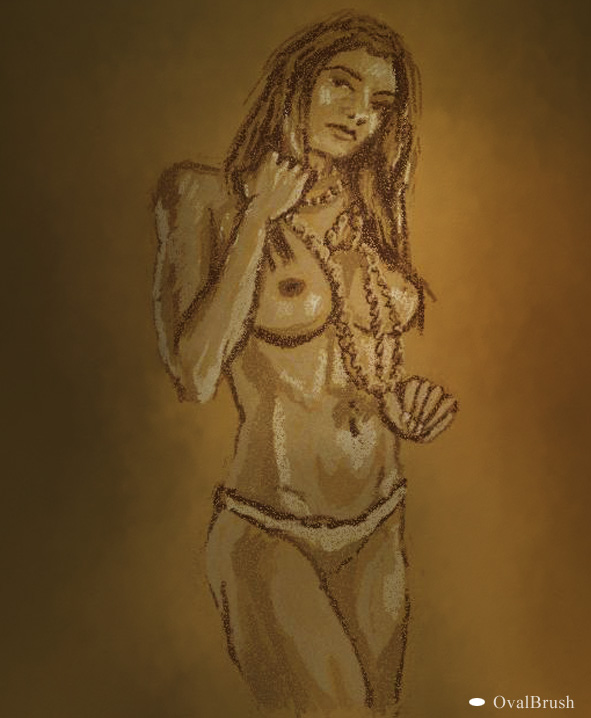
found my self switching between the conte crayon and artist oils alot in Painter on this one... Also alot of color adustments/corrections done during the process in both Photoshop and Painter

A Hawaiian Rainbow


When your drawing or painting it's important to feel relaxed... 'A Hawaiian Rainbow' is a free streaming radio station in your itunes radio>international section. Just click the stream and float away to peaceful images of Hawaii.

Wednesday, June 25, 2008

custom swatches


Custom colors I put together to use for painting skin tones...

Tuesday, June 24, 2008

Breaking Ice...

Painter Final


Completed painting with conte crayon and broad acrylic brush stokes in Painter X... color correction also applied.

Pretty Face


Read a book on digital painting today with explained that using a mid color 'pattern' with the 'healing brush tool' can be helpful for blending... more effective than the smudge tool.

Anyway I had never used the healing brush tool (a band-aid icon in photoshop) and it worked really nicely.

Also I used the airbrush tool which I never used to use and then redrew the face with color... that worked okay too. (Note to self: Remember 'highlight shadows' selection.)

... Visited city gallery too... Busy day.

Monday, June 23, 2008

Scary...


Modeled in Zbrush in the land of 2 and 1/2 D space and then painted in photoshop.

Sunday, June 22, 2008

Adding Color


I used a hard oval brush set to 25% opacity and 45% flow (not using airbrush) on a normal layer of 80% opacity to add color. I used the forbidden smudge tool to spread the paint and make minor fixes.

panda painted

Kung-Fu Panda


This was drawn all in photoshop... shape of panda was changed during sketch process by placing a few guides on both the ref pic and the canvas I was using to create a grid.

Black on white


This method of simply using black on white is one I like more and will stick with in the future... As you can see here (with the colored homer) color is no problem with this style.